Vue frontend
The Vue frontend is being reworked and is not yet stable.
In the meantime, refer to the IGNITE® CCA App.
Welcome to this tutorial on using IGNITE® to develop a web application for your blockchain with Vue 3. IGNITE® is a tool that simplifies the process of building a blockchain application by providing a set of templates and generators that can be used to get up and running quickly.
One of the features of IGNITE® is its support for Vue 3, a popular JavaScript framework for building user interfaces. In this tutorial, you will learn how to use IGNITE® to create a new blockchain and scaffold a Vue frontend template. This will give you a basic foundation for your web application and make it easier to get started building out the rest of your application.
Once you have your blockchain and Vue template set up, the next step is to generate an API client. This will allow you to easily interact with your blockchain from your web application, enabling you to retrieve data and make transactions. By the end of this tutorial, you will have a fully functional web application that is connected to your own blockchain.
Prerequisites:
Create a blockchain and a Vue app
Create a new blockchain project:
ignite scaffold chain example
To create a Vue frontend template, go to the example directory and run the
following command:
ignite scaffold vue
This will create a new Vue project in the vue directory. This project can be
used with any blockchain, but it depends on an API client to interact with the
blockchain. To generate an API client, run the following command in the
example directory:
ignite generate composables
This command generates two directories:
ts-client: a framework-agnostic TypeScript client that can be used to interact with your blockchain. You can learn more about how to use this client in the TypeScript client tutorial.vue/src/composables: a collection of Vue 3 composables that wrap the TypeScript client and make it easier to interact with your blockchain from your Vue application.
Set up Keplr and an account
Open your browser with the Keplr wallet extension installed. Follow the instructions to create a new account or use an existing one. Make sure to save the mnemonic phrase as you will need it in the next step.
Do not use a mnemonic phrase that is associated with an account that holds assets you care about. If you do, you risk losing those assets. It's a good practice to create a new account for development purposes.
Add the account you're using in Keplr to your blockchain's config.yml file:
accounts:
  - name: alice
    coins: [20000token, 200000000stake]
  - name: bob
    coins: [10000token, 100000000stake]
  - name: frank
    coins: [10000token, 100000000stake]
    mnemonic: struggle since inmate safe logic kite tag web win stay security wonder
Replace the struggle since... mnemonic with the one you saved in the previous
step.
Adding an account with a mnemonic to the config file will tell IGNITE® CLI to add the account to the blockchain when you start it. This is useful for development purposes, but you should not do this in production.
Start a blockchain and a Vue app
In the example directory run the following command to start your blockchain:
ignite chain serve
To start your Vue application, go to the vue directory and run the following
command in a separate terminal window:
Make sure you have pnpm installed.
pnpm install && pnpm dev
It is recommended to run pnpm install before starting your app with pnpm dev to ensure that all dependencies are installed (including the ones that the API client has, see vue/postinstall.js).
Open your browser and navigate to http://localhost:5173/.
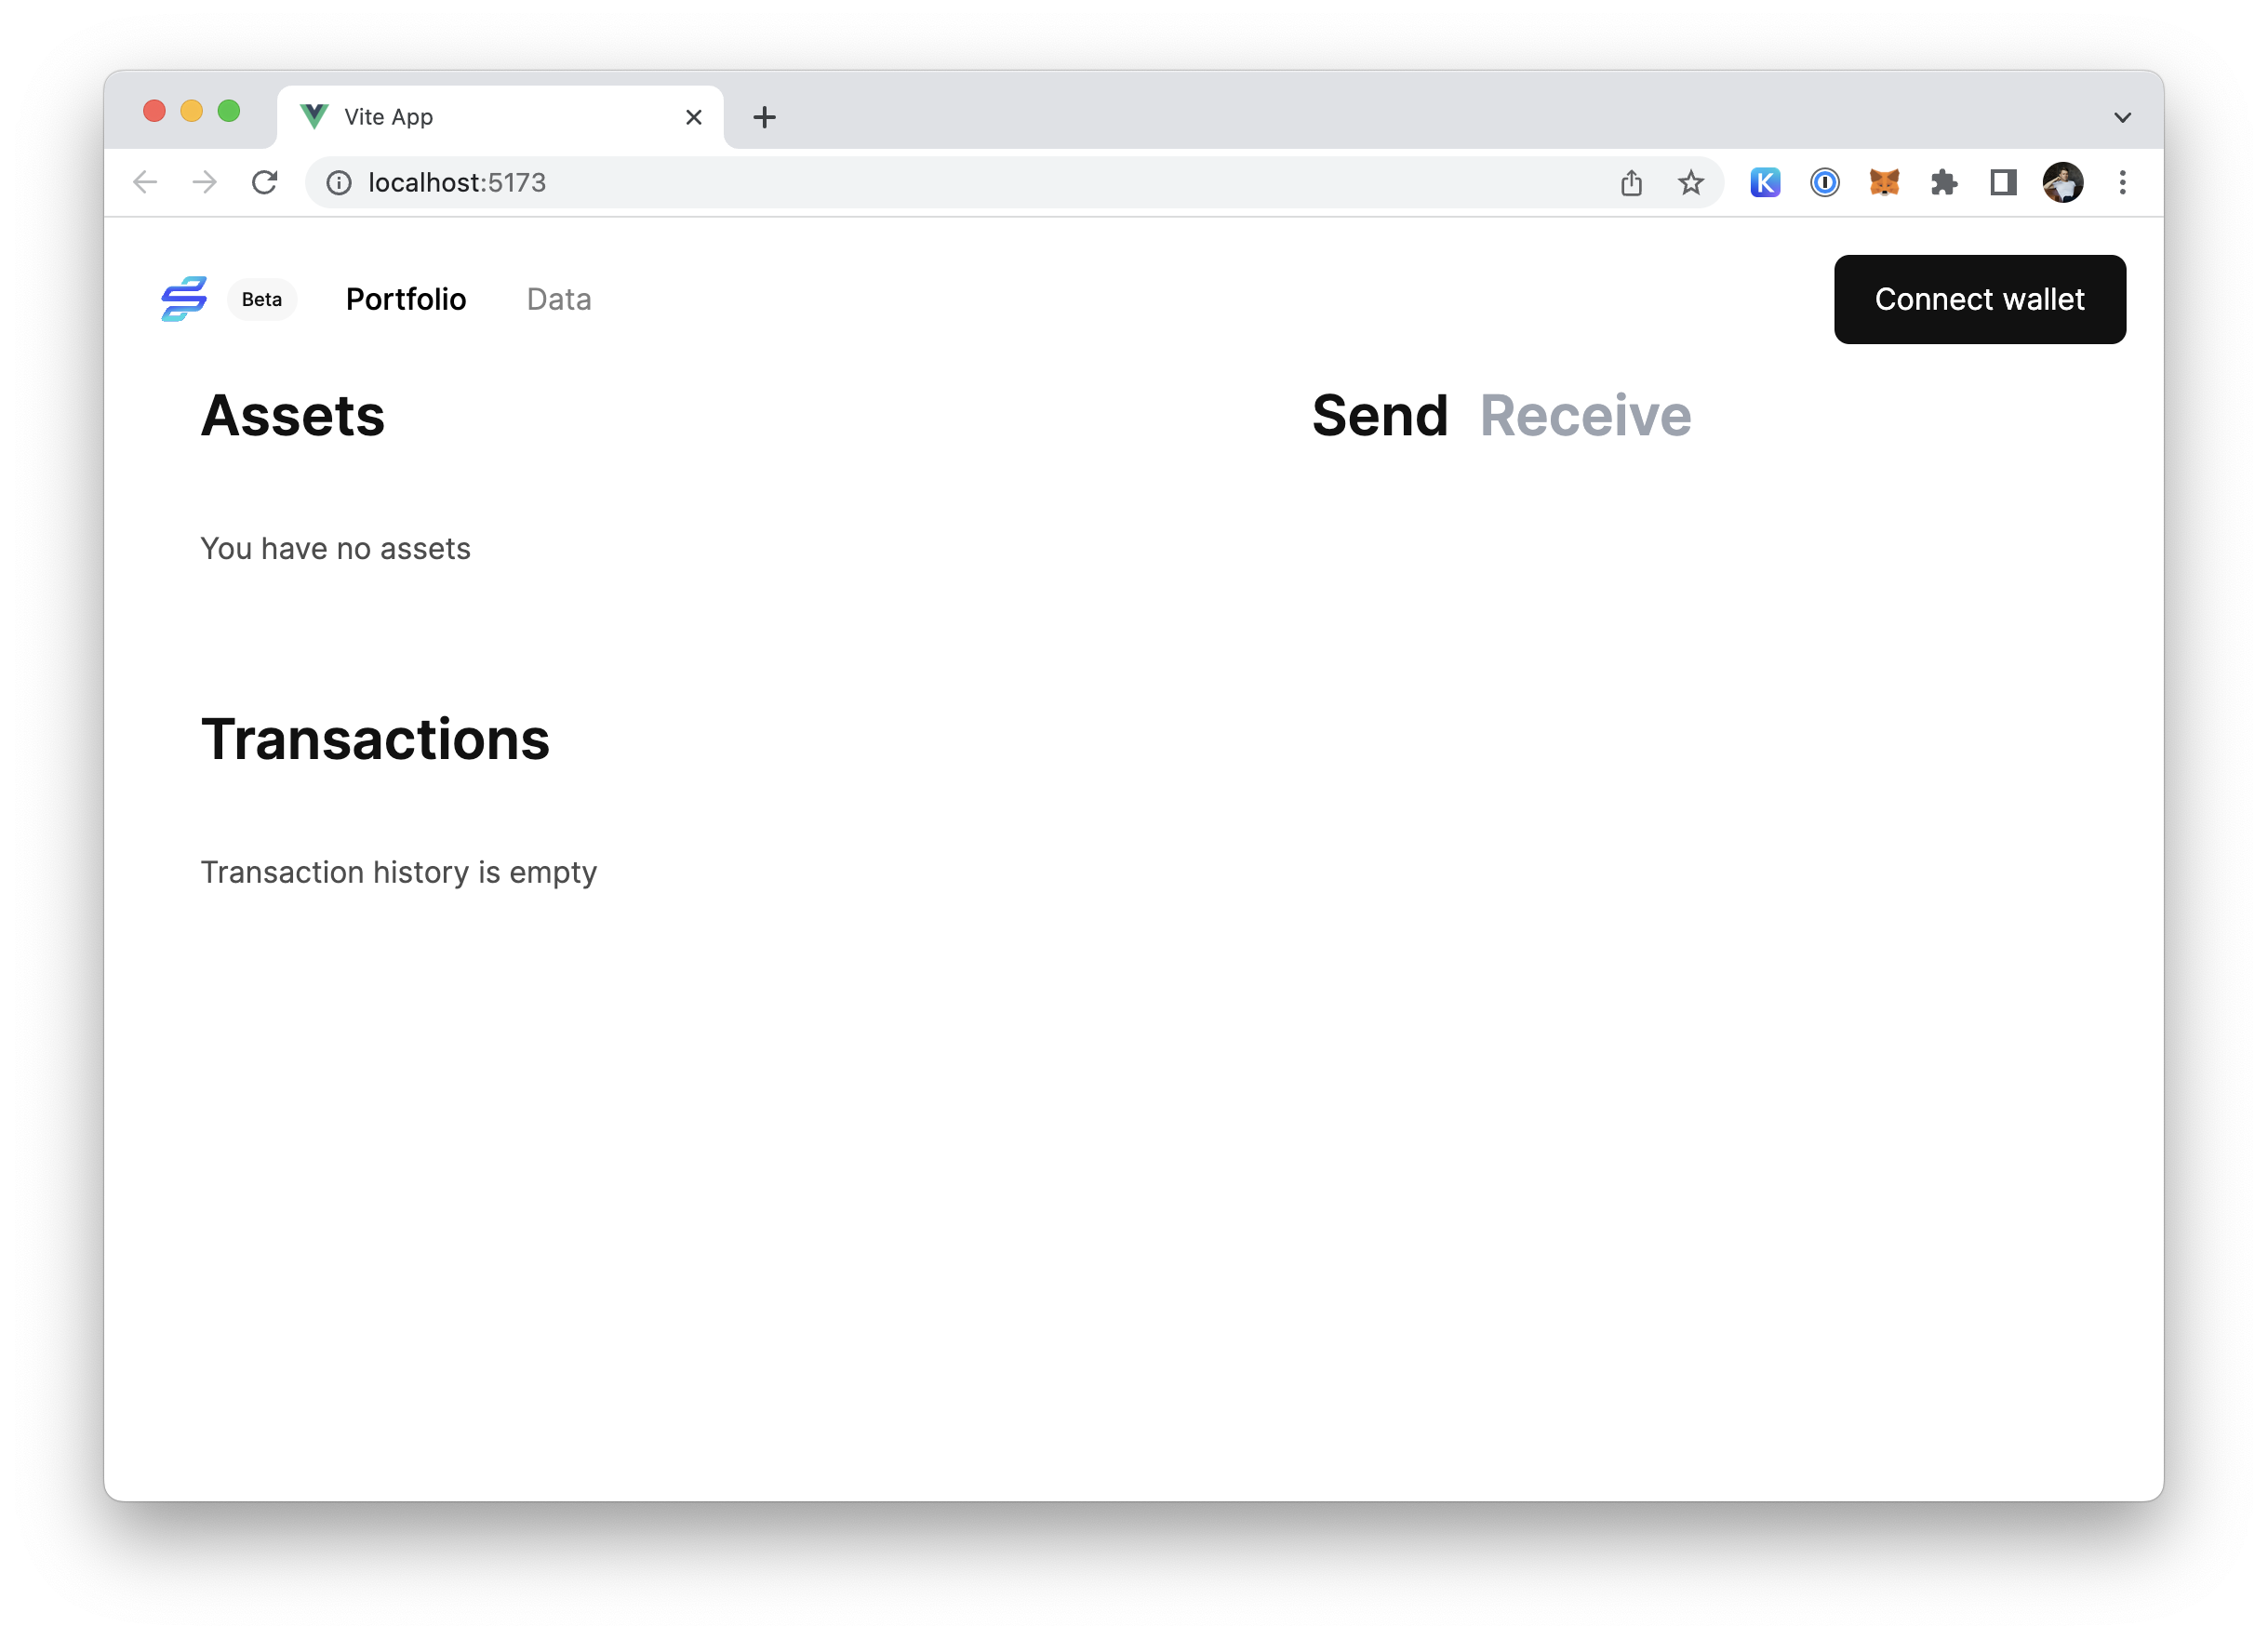
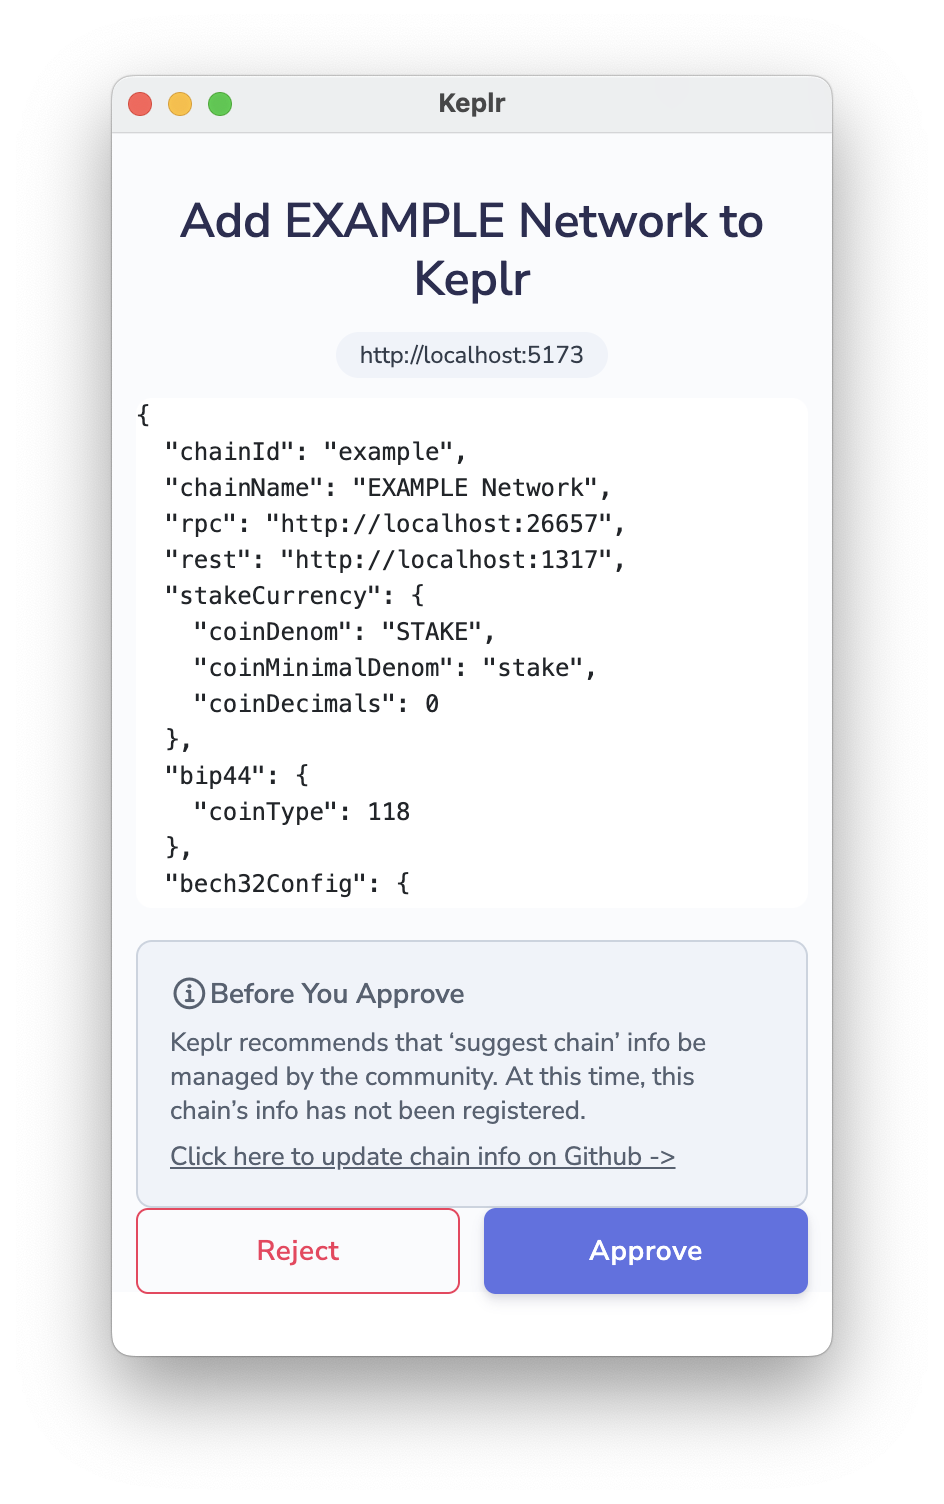
Press "Connect wallet", enter your password into Keplr and press "Approve" to add your blockchain to Keplr.
Make sure to select the account you're using for development purposes and the "Example Network" in Keplr's blockchain dropdown. You should see a list of assets in your Vue app.
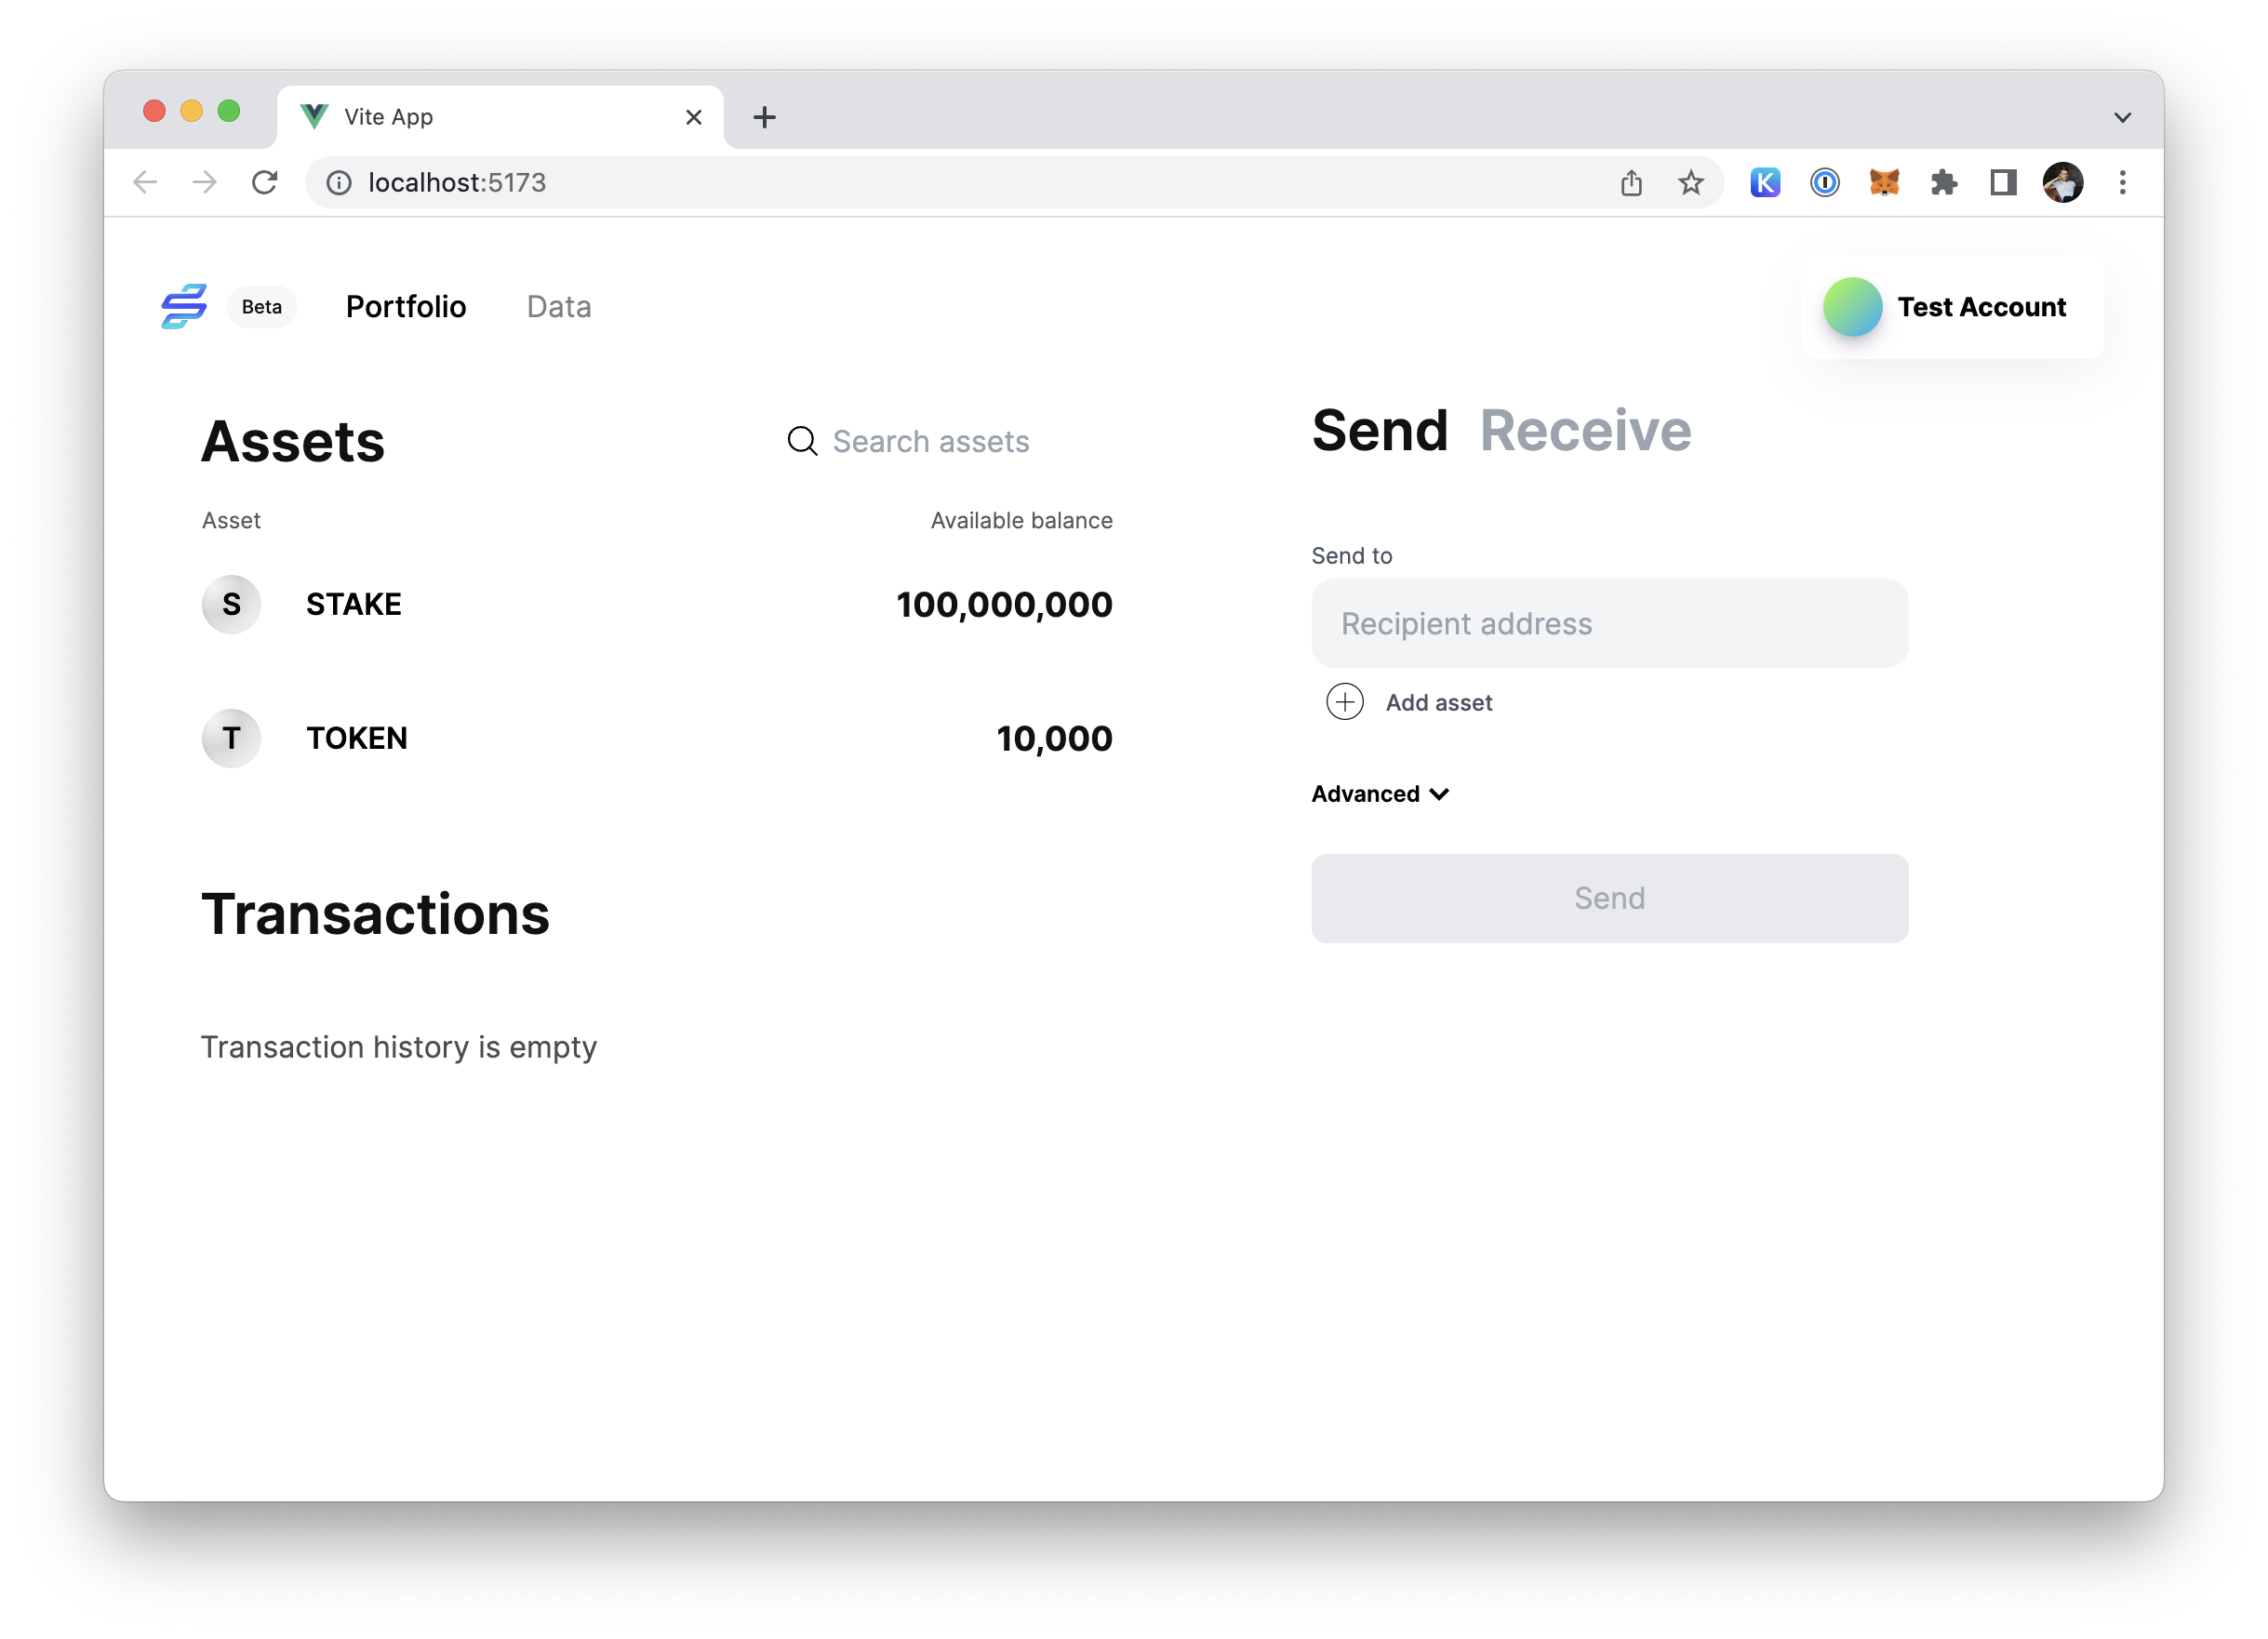
Congratulations! You have successfully created a client-side Vue application and connected it to your blockchain. You can modify the source code of your Vue application to build out the rest of your project.
Setting the address prefix
It is necessary to set the correct address prefix in order for the Vue app to properly interact with a Cosmos chain. The address prefix is used to identify the chain that the app is connected to, and must match the prefix used by the chain.
By default, IGNITE® creates a chain with the cosmos prefix. If you have
created your chain with ignite scaffold chain ... --address-prefix foo or
manually changed the prefix in the source code of the chain, you need to set the
prefix in the Vue app.
There are two ways to set the address prefix in a Vue app.
Using an environment variable
You can set the VITE_ADDRESS_PREFIX environment variable to the correct
address prefix for your chain. This will override the default prefix used by the
app.
To set the VITE_ADDRESS_PREFIX environment variable, you can use the following
command:
export VITE_ADDRESS_PREFIX=your-prefix
Replace your-prefix with the actual address prefix for your chain.
Setting address prefix in the code
Alternatively, you can manually set the correct address prefix by replacing the
fallback value of the prefix variable in the file ./vue/src/env.ts.
To do this, open the file ./vue/src/env.ts and find the following line:
const prefix = process.env.VITE_ADDRESS_PREFIX || 'your-prefix';
Replace your-prefix with the actual address prefix for your chain.
Save the file and restart the Vue app to apply the changes.